How do I create an agent on my helpdesk portal?
Agents are key members of your support team, responsible for addressing client queries and ensuring a positive customer experience. Whether they work full-time or part-time, agents are often the face of your organization, representing your brand through their interactions with clients. Their problem-solving abilities and communication skills can significantly influence how clients perceive your company.
To create an agent in your helpdesk portal, follow these steps:
- Log in as Admin: Ensure you have admin access to make changes.
- Navigate to Settings: From your helpdesk dashboard, go to the Settings section.
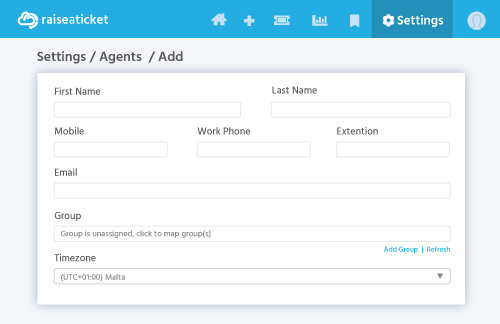
- Access the Agents Section: Select Agents from the menu, then click on Add Agent.
- Provide Agent Details: Fill in the required information, such as the agent's name, email address, and other relevant details.
- Send Activation Email: Once the agent is added, they will receive an email containing a link to set their password and activate their account.

Important Note on Agent Management
Once an agent is activated, their account can only be disabled, not deleted. This ensures that their historical activity, such as ticket interactions and reports, remains intact for future reference and auditing purposes. Disabling an agent allows you to preserve valuable data while ensuring the account is no longer active in daily operations.


